Sweet & Sticky Candied Kielbasa: The Ultimate Potluck Perfection
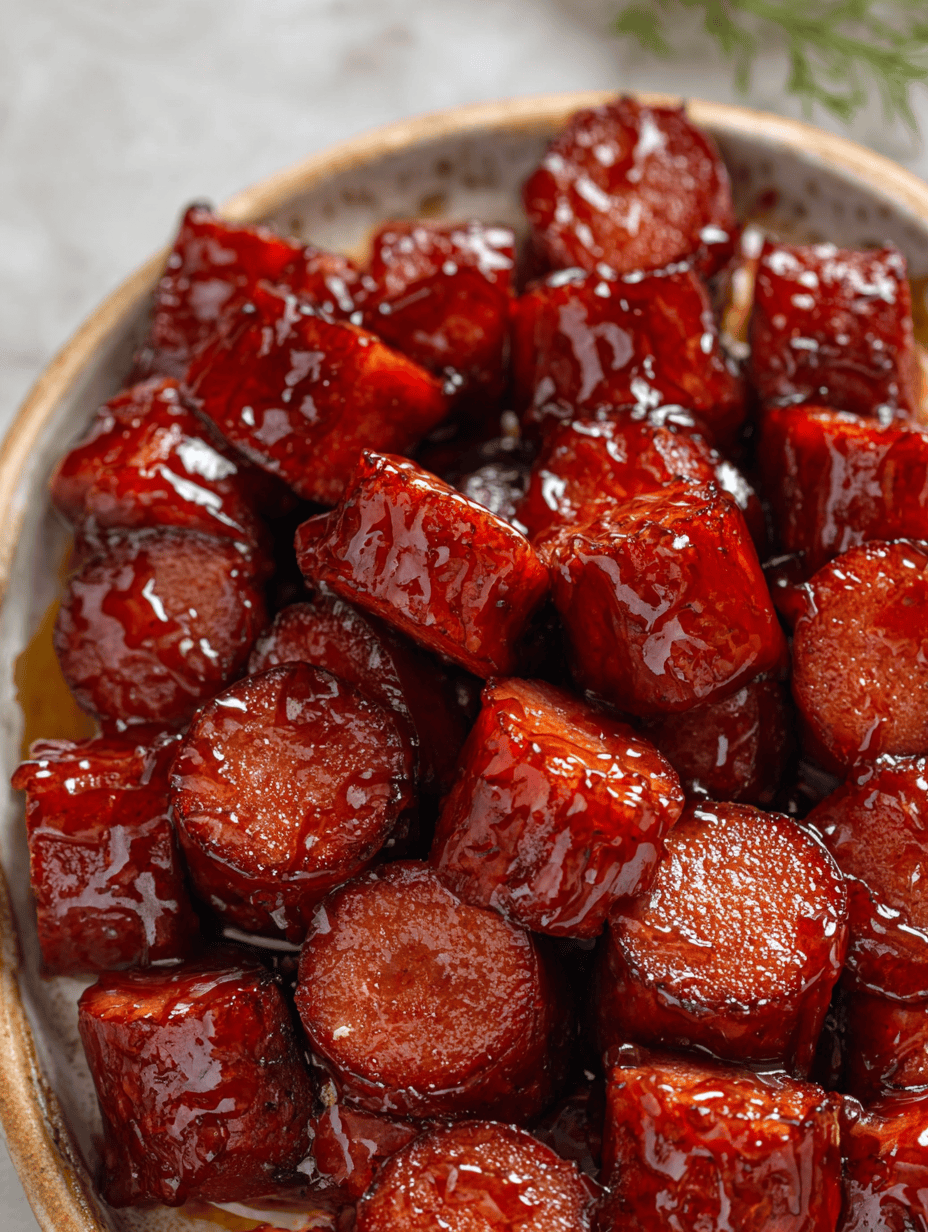
Imagine a dish so effortlessly delicious, so universally loved, that it vanishes from the potluck spread almost as quickly as it arrives. That, my friends, is the magic of
candied kielbasa baked in the oven. This irresistible combination of smoky sausage bathed in a sweet, sticky, and slightly tangy glaze is more than just a recipe; it's a guaranteed crowd-pleaser, a weeknight dinner hero, and a game-day MVP all rolled into one tantalizing package.
What's not to adore about tender kielbasa chunks, caramelized to perfection, coated in a sauce so addictive even the pickiest eaters can't resist sneaking bites straight from the dish? Whether you're a seasoned host looking for a stress-free appetizer or a home cook seeking a hearty meal that the whole family will devour, this recipe for candied kielbasa is about to become your new favorite go-to.
Why Candied Kielbasa is a Potluck Powerhouse (and More!)
The humble kielbasa, a Polish smoked sausage celebrated for its robust and garlicky flavor, truly shines when given the candied treatment. Its inherent richness provides the perfect counterpoint to a sweet, caramelized sauce, creating a flavor symphony that’s hard to beat.
The Irresistible Sweet-Savory Balance
The secret to this dish's universal appeal lies in its exquisite balance. The smoky, savory notes of the kielbasa are beautifully complemented by the sweet and sticky glaze. When
candied kielbasa baked in the oven, the high heat transforms simple ingredients like brown sugar and ketchup into a rich, deep, and slightly tangy caramel. This complex flavor profile is incredibly satisfying, making it appealing to diverse palates. Adding a secret ingredient like a hint of horseradish can elevate this balance further, cutting through the sweetness with a subtle warmth that leaves everyone guessing – and craving more!
Unbeatable Convenience for Busy Hosts
Hosting a potluck or game day gathering can be stressful, but preparing this candied kielbasa is anything but. The beauty of this recipe lies in its simplicity. With minimal ingredients and even less active prep time, you can literally "throw it all in a baking dish, give it a stir, and pop it in the oven!" This hands-off approach frees you up to focus on other aspects of your event, or simply relax. The fact that it travels exceptionally well and reheats beautifully makes it an ideal dish to bring to any communal feast.
Versatility Beyond the Potluck Table
While it's a star at potlucks, the utility of this amazing dish extends far beyond. Serve your
easy oven-baked candied kielbasa as a delightful appetizer, skewered with toothpicks for easy finger food enjoyment. Or, transform it into a satisfying main course. Piled high over fluffy white rice, creamy mashed potatoes, or even tossed with egg noodles or your favorite pasta, the extra sticky sauce becomes a luxurious gravy, perfect for soaking up with every bite. It’s also fantastic in sliders or alongside a simple green salad for a quick weeknight meal.
Crafting the Perfect Candied Kielbasa: Ingredients & The Oven Method
The magic of this recipe is how a few simple components come together to create something truly spectacular. The oven is key to achieving that perfect candied, slightly crispy exterior.
Essential Ingredients for the Classic Sweet & Sticky Sauce
To embark on your candied kielbasa journey, you'll need just a handful of ingredients:
*
Kielbasa Sausage: Typically, pre-cooked kielbasa is used, making prep even faster. Simply slice it into bite-sized rounds or half-moons. If you opt for fresh kielbasa, be sure to cook it until it's thoroughly done, which might require a slightly longer baking time than pre-cooked varieties. The smoky and garlicky notes of a good kielbasa are fundamental to the dish's character.
*
Brown Sugar: This is the cornerstone of the "candied" effect, providing deep sweetness and aiding in caramelization. Both light and dark brown sugar work well, with dark brown sugar offering a richer molasses flavor.
*
Ketchup: More than just a condiment, ketchup contributes sweetness, tang, and a vibrant color to the sauce, helping it thicken and adhere to the sausage.
*
Horseradish: This is often the secret weapon! A small amount of prepared horseradish adds a subtle, peppery kick that brilliantly balances the sweetness of the other ingredients without making the dish spicy. Many won't even guess it's there, but they'll notice a depth of flavor that's truly unique.
**Ingredient Variations:**
Don't have horseradish? No problem! You can substitute it with a blend of ¼ cup barbecue sauce and a dash of lemon juice for a different, but equally delicious, tangy twist. Some recipes even experiment with sweet chili sauce and a splash of light beer or water for an alternative sticky glaze. These variations allow you to customize the flavor profile to your personal preference, from classic sweet-and-sour to a more robust BBQ-inspired taste.
The oven truly excels at creating the desirable caramelized crust and sticky glaze that defines this dish. Here's how to achieve perfection:
1.
Preheat and Prep: Begin by preheating your oven to 350°F (175°C). Lightly spray an 8x8 or 9x13-inch baking dish (depending on batch size) with nonstick cooking spray to ensure easy cleanup.
2.
Combine Ingredients: Slice your kielbasa into bite-sized pieces. In the prepared baking dish, combine the sliced kielbasa, brown sugar, ketchup, and horseradish (or your chosen substitute). Stir everything thoroughly, ensuring each piece of sausage is well-coated in the developing sauce. This initial stir is crucial for even flavor distribution.
3.
Bake to Perfection: Place the dish in the preheated oven. Bake for approximately 70-90 minutes. The key to the "candied" texture is active engagement during baking. Make sure to stir the kielbasa every 30 minutes. This stirring prevents sticking, promotes even caramelization on all sides of the sausage, and helps the sauce thicken uniformly.
4.
Watch for Crispness: The exact baking time can vary slightly depending on your oven and desired crispness. You'll know it's ready when the sauce has thickened, darkened to a rich caramel hue, and the kielbasa pieces have developed a beautiful, slightly crispy exterior. The magic happens in the last 20-30 minutes as the sugars truly caramelize.
Once it reaches your preferred level of stickiness and crispiness, pull it from the oven and prepare to be amazed!
While the recipe is inherently simple, a few expert tips can elevate your candied kielbasa from great to unforgettable.
Customizing Your Sweetness and Spice
*
Adjusting Sweetness: If you prefer a less sweet glaze, slightly reduce the amount of brown sugar. For a deeper, more robust sweetness, consider using dark brown sugar.
*
Adding Heat: For those who love a bit of a kick, a pinch of red pepper flakes or a dash of hot sauce stirred into the sauce can provide a delightful contrast without overpowering the core flavors.
*
Flavor Depth: Experiment with a tiny splash of apple cider vinegar or Worcestershire sauce to add even more complexity and tang to your glaze.
Serving Suggestions Beyond Rice
While rice and noodles are classic accompaniments, consider these creative ideas:
*
Sliders: Serve the candied kielbasa in mini Hawaiian rolls for irresistible sweet-and-savory sliders.
*
Polenta or Grits: For a comforting and hearty meal, serve over creamy polenta or cheese grits.
*
Crusty Bread: Offer a basket of crusty bread or garlic knots for soaking up every last drop of that amazing sticky sauce.
*
Vegetable Medley: Pair with roasted broccoli, green beans, or a simple side salad to balance the richness.
*
Game Day Dip: For parties, place the candied kielbasa in a small slow cooker on a "warm" setting with toothpicks for an easy-to-serve, scoopable appetizer.
Make-Ahead & Storage Secrets
This dish is incredibly freezer-friendly, making it perfect for meal prepping or ensuring you always have a delicious backup meal.
*
Refrigeration: Store any leftover candied kielbasa in an airtight container in the refrigerator for up to 3-4 days. It tastes just as good, if not better, the next day!
*
Freezing: Candied kielbasa freezes beautifully for up to 3 months. Once completely cooled, transfer it to a freezer-safe bag or container. This is a fantastic strategy for making a double batch – enjoy one now, freeze one for a busy weeknight.
*
Reheating: To reheat, simply defrost in the microwave (if frozen), then warm gently on the stovetop over low heat, stirring occasionally, or pop it back into the oven at 300°F (150°C) until heated through. Add a splash of water or broth if the sauce seems too thick during reheating.
Conclusion
The appeal of
candied kielbasa baked in the oven is undeniable. It's the epitome of easy, comforting, and utterly delicious food that brings smiles to faces and happy sighs to stomachs. From its quick preparation to its incredible versatility as both an appetizer and a main course, this sweet and sticky sensation is a true culinary gem. So, the next time you're planning a potluck, a game day gathering, or simply craving a satisfying meal that's bursting with flavor, reach for that kielbasa and get ready to create a dish that will have everyone asking for the recipe. Trust us, it's addictive!